Setup Guide
6 short sections · about 5 minutes to set up
Hardware Shopping List
Requires a Mac (2018+), 1–4 iPhones (11+), and standard playing cards.
| USB Webcams | One per seat. Ours cost $13 each. |
| Thunderbolt Docks | 2× CalDigit TS3+, one per side of your Mac. ~$100 each on eBay. |
| iPhone Cables | Apple-certified only. Cheap ones won't carry video. |
Don't buy a cheap USB hub
We tried a 16-port Sabrent USB hub and it couldn't handle 8 simultaneous webcam feeds. The bandwidth isn't there. You need Thunderbolt docks (like the CalDigit TS3+) that provide dedicated bandwidth per port. Split your webcams across two docks, one per Thunderbolt port on your Mac.
Get 2 Thunderbolt Docks
Each CalDigit TS3+ has 5 USB-A ports. Plug one dock into each side of your Mac and split your webcams between them.
Webcam Mounting
Mount the webcam near the player's seat and hold cards 2–6 inches from the lens for about 2 seconds to register.
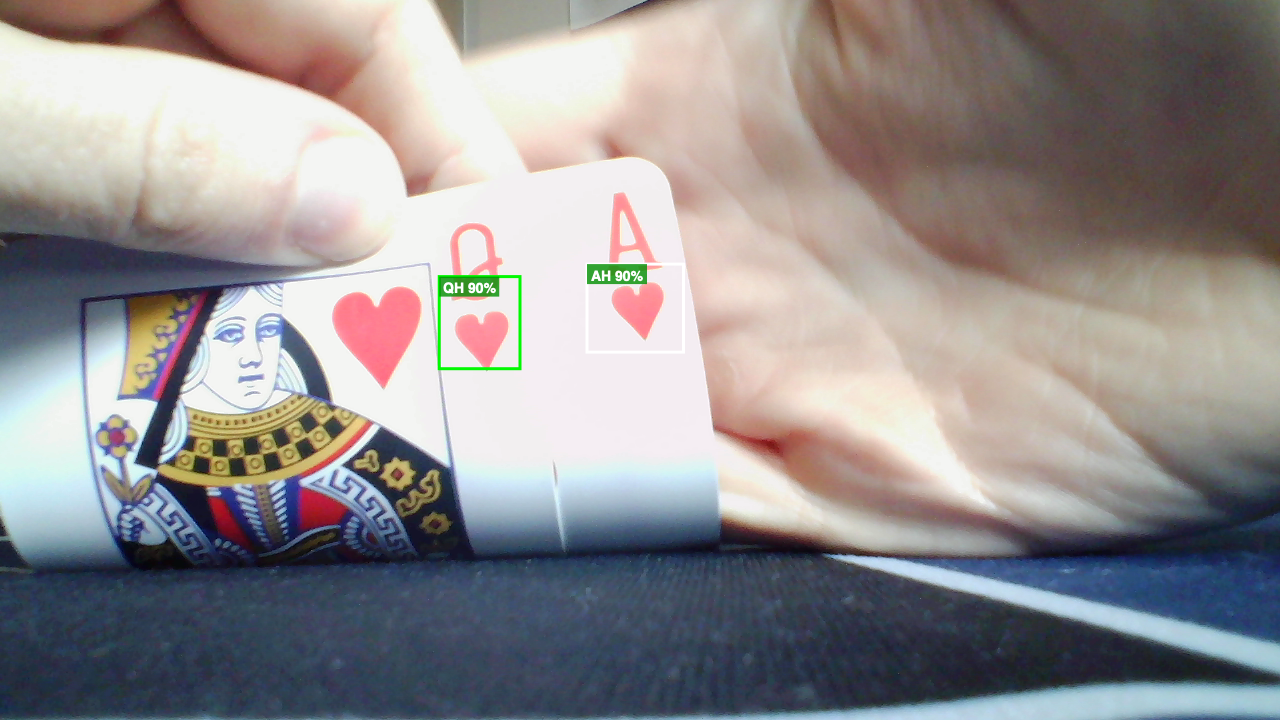
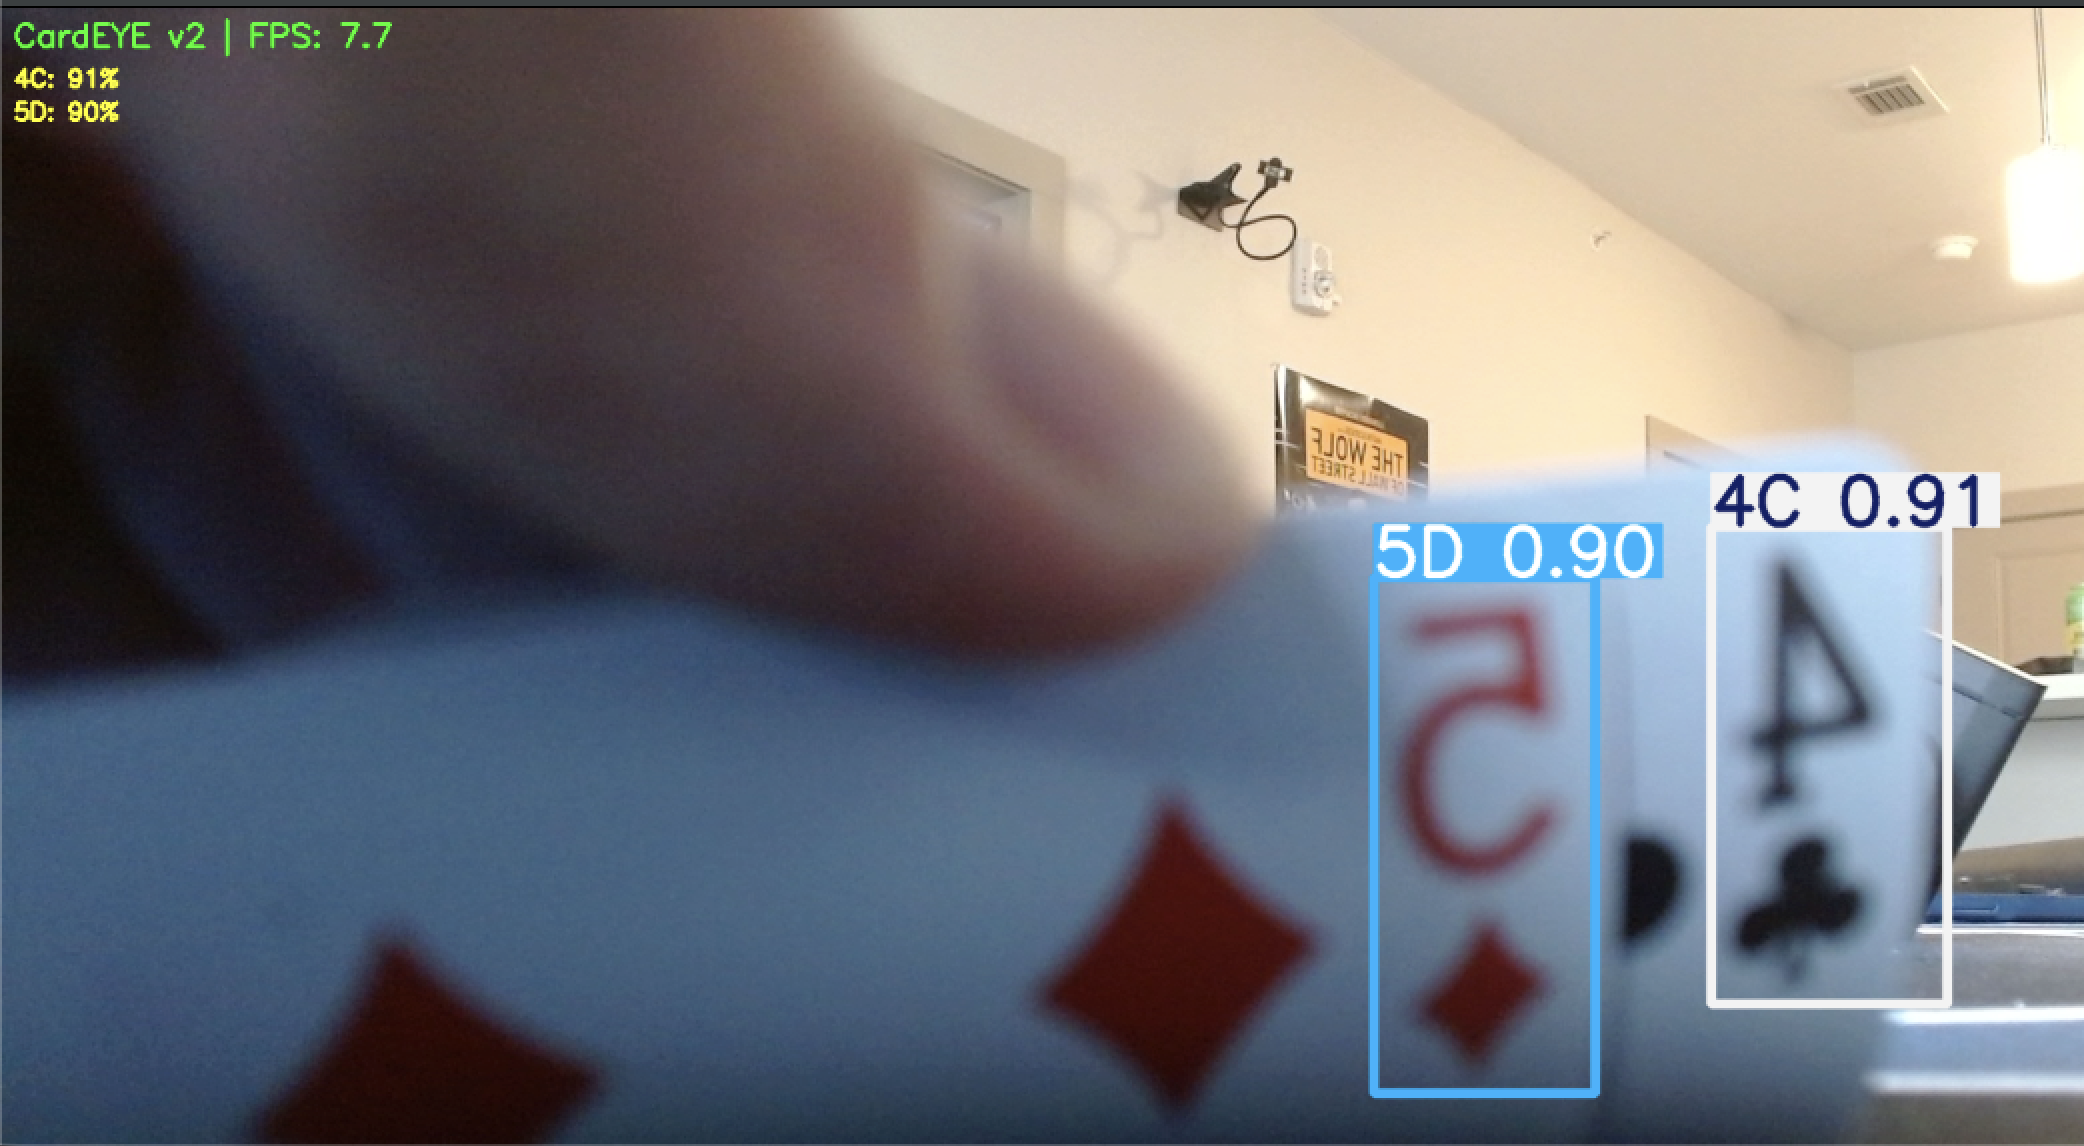
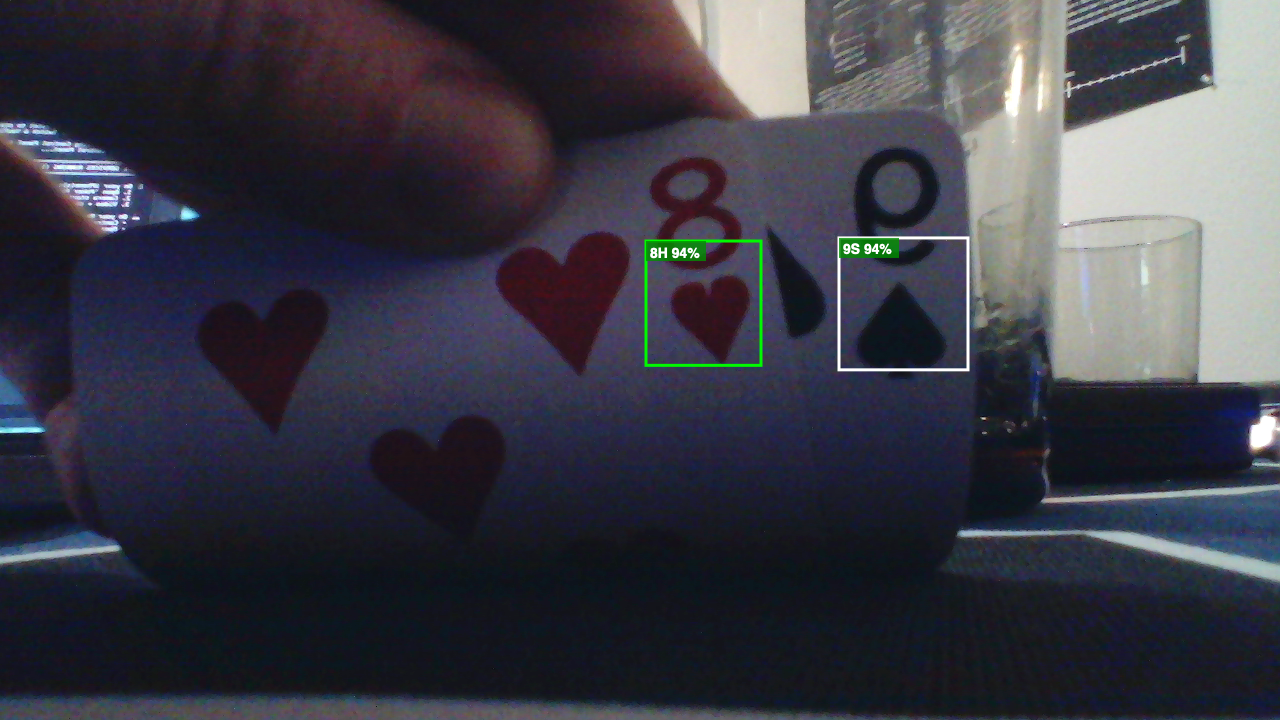
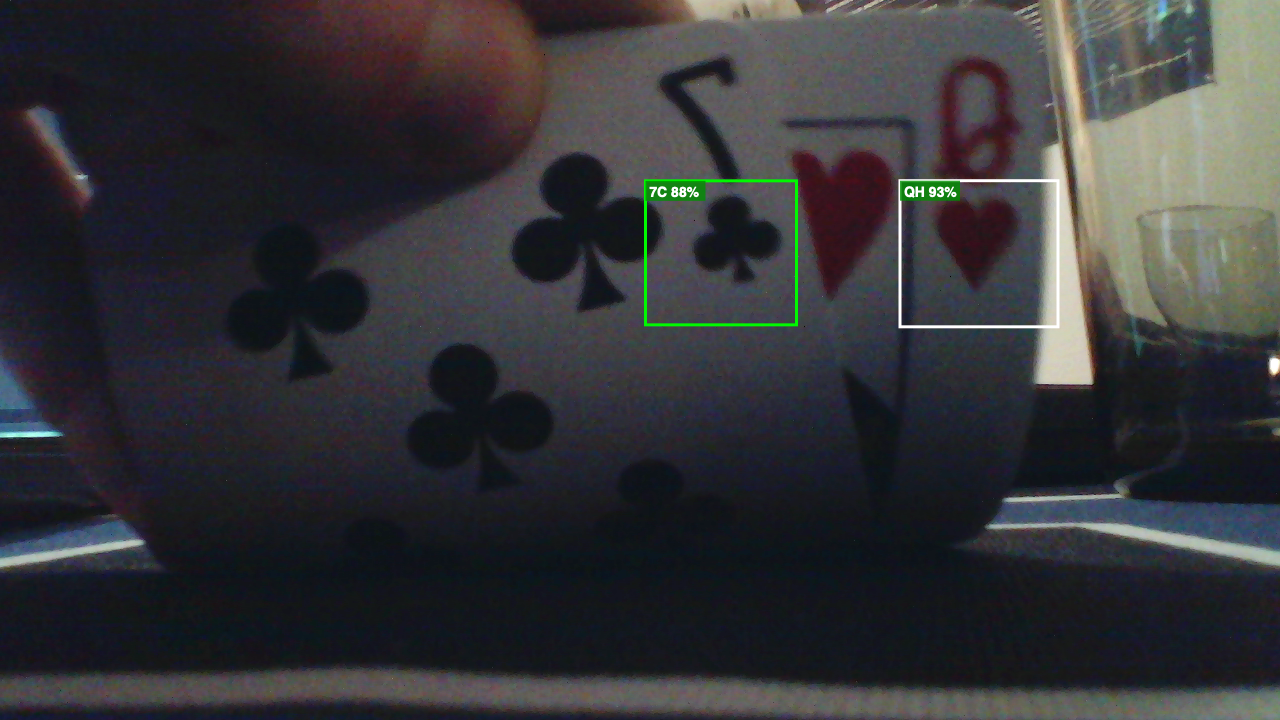
CardEYE reads each card automatically — even from a $13 webcam.
Card Compatibility
Works great
Bicycle, Bee, Maverick, Tally-Ho, and most standard poker decks.
May not work
Cards with custom or artistic face designs.
Plug iPhones Into Docks
Plug phones into Thunderbolt docks. Data cable required (can be USB-A or USB-C, might need a 20ft+ cable). Click "Trust" on iPhone when prompted.
Point them at the table from different angles — overhead for community cards, side angles for player reactions.
Install the Poker Panel iOS app on each iPhone. It streams video over USB with almost zero delay.
Cable length matters
USB 2.0 cables are reliable up to about 16 feet. If you need longer runs (across the room), use an active USB extension cable with a built-in signal repeater. A passive 25ft cable will cause disconnects and frame drops.